
Grilled Corn On The Cob
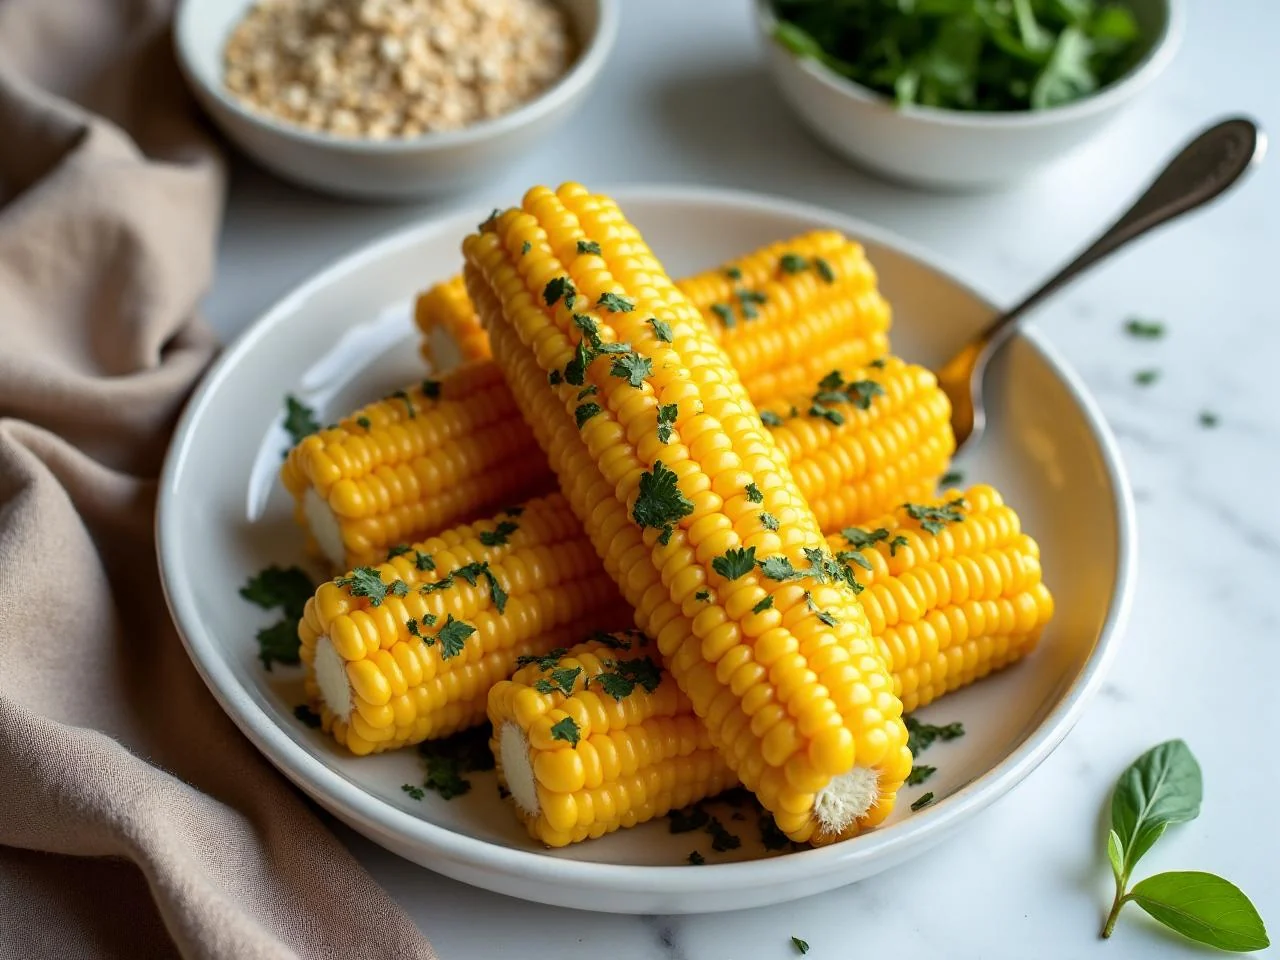
There's something special about biting into a freshly grilled ear of corn, the slight char on the outside giving way to a tender, juicy interior. As a home cook who's had to adapt to a gluten-free diet, I've found that Grilled Corn On The Cob is one of those wonderful dishes that's naturally free from gluten, making it a staple for our summer gatherings.
My journey with gluten-free cooking began after being diagnosed with celiac disease. At first, it seemed daunting, but as I delved deeper into the world of gluten-free cooking, I realized it wasn't about restriction but about smart swaps and good technique. Grilled Corn On The Cob is a perfect example of this - with just a few simple ingredients and some careful attention to detail, you can achieve a dish that's not only gluten-free but also incredibly delicious.
This recipe is special because it's one of those rare dishes that requires minimal ingredients but yields a maximum amount of flavor. It's perfect for family barbecues, picnics, or even a quick weeknight dinner. The best part? It's incredibly easy to make, and with a few pro tips, you can ensure that your Grilled Corn On The Cob turns out perfectly every time.
So, what makes this recipe so dependable? For starters, it's the quality of the ingredients. Fresh corn on the cob, paired with a blend of herbs and spices, creates a flavor profile that's both simple and complex at the same time. Then, there's the technique - grilling the corn to the perfect level of doneness, so it's tender but still retains a bit of crunch. Finally, it's the attention to detail - from the preparation of the corn to the final seasoning, every step matters in creating a dish that's truly memorable.
In the following pages, I'll guide you through the process of making the perfect Grilled Corn On The Cob. From the ingredients and equipment you'll need to the step-by-step instructions and helpful tips, I'll cover everything you need to know to become a master griller of corn. So, let's get started and uncover the secrets to this delicious, gluten-free dish.
Why You’ll Love This Recipe
- This recipe is incredibly easy to make, requiring minimal ingredients and effort.
- It's perfect for gluten-free diets, making it an excellent option for those with dietary restrictions.
- The dish is highly versatile and can be served in various settings, from casual barbecues to more formal gatherings.
- Grilled Corn On The Cob is a crowd-pleaser, with its smoky flavor and tender texture appealing to a wide range of tastes.
- You can make it ahead of time, which is convenient for planning meals or events.
- It's a budget-friendly option, as corn on the cob is generally inexpensive and accessible.
- This recipe allows for creativity and customization, as you can experiment with different seasonings and toppings.
Why This Recipe Works
The success of this recipe lies in its simplicity and the attention to detail in each step. First, it's about selecting the right corn - fresh, plump, and with a good balance of sweetness and starch. Then, it's how you prepare the corn for grilling, ensuring that it's well-oiled and seasoned to prevent drying out and to enhance flavor.
The grilling process itself is where the magic happens. By cooking the corn over medium-high heat, you achieve a nice char on the outside, which not only adds flavor but also texture. The key is to rotate the corn regularly to ensure even cooking and to prevent burning. Finally, it's the resting time after grilling - letting the corn sit for a few minutes allows the juices to redistribute, making each bite tender and flavorful.
Another crucial aspect is the balance of flavors. By using a blend of herbs and spices, you can complement the natural sweetness of the corn without overpowering it. This balance is what makes Grilled Corn On The Cob so versatile - it can be a side dish, a snack, or even a light lunch, depending on how you choose to serve it.
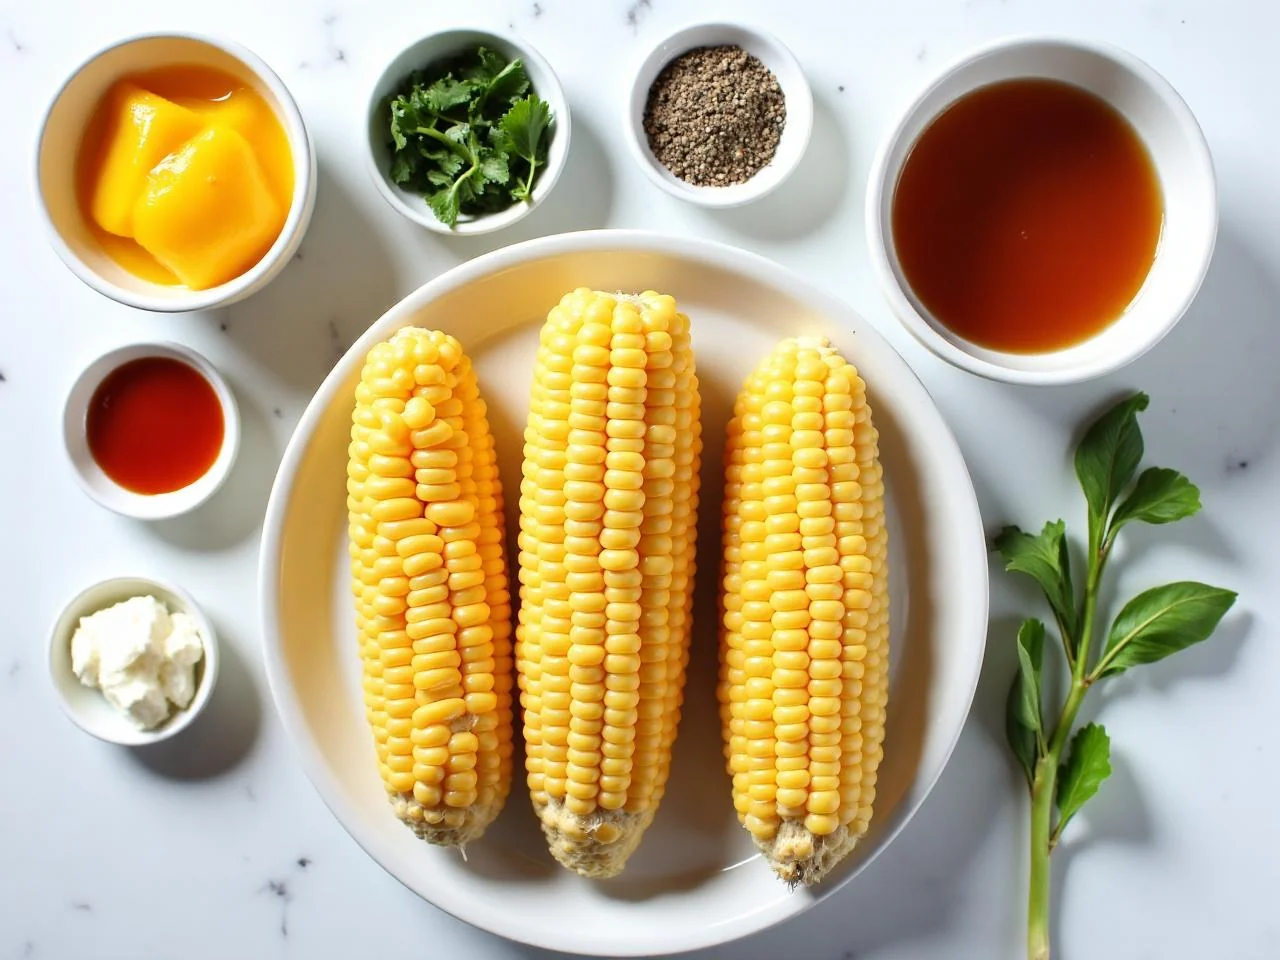
Ingredients You’ll Need
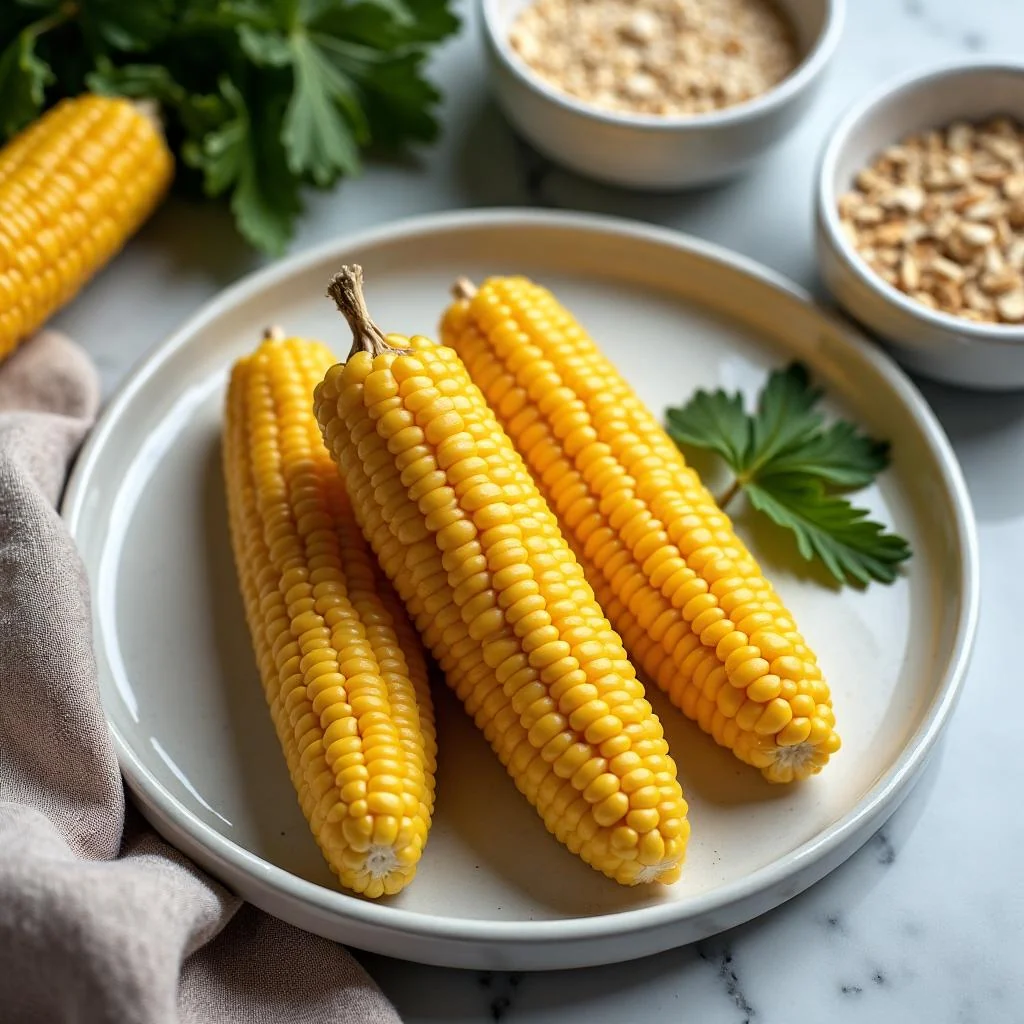
For this recipe, you'll need just a few simple ingredients, most of which you might already have in your pantry. The key is freshness and quality, especially when it comes to the corn itself. Look for ears that are plump, with a slight sheen to them, and a fresh, slightly sweet aroma. The rest of the ingredients are easy to find and require minimal preparation.
When shopping for your ingredients, consider the seasonality of corn. Fresh corn is typically available from May to October, but you can find it in most supermarkets year-round. For the best flavor, try to buy corn that's been recently picked, as it will be sweeter and have a better texture.
- 4 ears of corn, husked and silkedLook for fresh, plump ears with a slight sheen and a fresh aroma. Remove the husks and silk before grilling for better flavor and texture.
- 2 tbsp olive oilOlive oil is used for brushing the corn to prevent sticking and to add flavor. You can also use other oils like avocado or grapeseed if you prefer.
- 1 tsp saltSalt enhances the natural flavors of the corn and helps to bring out its sweetness. Use a flaky sea salt or kosher salt for the best flavor.
- 1/2 tsp black pepperBlack pepper adds a subtle kick to the corn without overpowering it. Freshly ground pepper is best for the most flavor.
- 1/2 tsp garlic powderGarlic powder adds a depth of flavor to the corn without the pungency of fresh garlic. You can adjust the amount to your taste.
- 1/2 tsp paprikaPaprika adds a smoky flavor to the corn, complementing the char from grilling. Use sweet or smoked paprika for different flavor profiles.
- 1/4 tsp cayenne pepperCayenne pepper adds a touch of heat to the corn. Adjust or omit according to your preference for spice.
- 2 tbsp chopped fresh parsleyFresh parsley adds a bright, fresh flavor to the corn. Use curly or flat-leaf parsley, whichever you prefer.
- 1 tbsp lemon juiceLemon juice adds a squeeze of freshness and helps to balance the flavors. Use freshly squeezed juice for the best taste.
- 1/4 cup grated Parmesan cheeseParmesan cheese adds a salty, nutty flavor to the corn. You can use other hard cheeses like Pecorino or Romano if you prefer.
Equipment You’ll Need
How to Make Grilled Corn On The Cob
- 1Preheat your grill or grill pan to medium-high heat, aiming for a temperature of about 375°F to 400°F. This high heat will help achieve a nice char on the corn.
- 2In a small bowl, mix together the salt, black pepper, garlic powder, paprika, and cayenne pepper. This blend will add depth and complexity to your corn.
- 3Brush each ear of corn with olive oil, making sure they are well-coated to prevent sticking and to add flavor.
- 4Sprinkle the seasoning blend evenly over the corn, turning the ears to ensure they are coated on all sides.
- 5Place the corn on the grill and close the lid. Grill for about 10-15 minutes, turning every 2-3 minutes, until the corn is slightly charred on all sides and tender when pierced with a fork.
- 6After grilling, remove the corn from the heat and let it rest for a few minutes. This resting time allows the juices to redistribute, making the corn more tender and flavorful.
- 7While the corn is resting, mix the chopped parsley and lemon juice in a small bowl. This fresh and tangy mixture will add a bright note to the dish.
- 8Once the corn has rested, brush it with the parsley and lemon juice mixture. This step adds a burst of freshness and helps to balance the smokiness from the grill.
- 9Sprinkle the grated Parmesan cheese over the corn. The salty, nutty flavor of the cheese complements the sweetness of the corn perfectly.
- 10Serve the Grilled Corn On The Cob hot, garnished with additional parsley if desired. You can also serve it at room temperature if you're preparing it ahead of time.
- 11For an extra burst of flavor, consider serving the corn with a dollop of sour cream or a sprinkle of cotija cheese. These additions can enhance the dish without overpowering the natural flavor of the corn.
Expert Tips
- To ensure the corn cooks evenly, try to grill ears that are similar in size.
- If using a grill pan, make sure it's preheated properly before adding the corn to achieve the best char.
- Don't overcrowd the grill, as this can lower the temperature and prevent even cooking. Grill the corn in batches if necessary.
- For a smokier flavor, you can add wood chips to your grill. Hickory or mesquite work well with corn.
- Consider grilling other vegetables like bell peppers, zucchini, or onions alongside the corn for a colorful and varied side dish.
- To make the dish more substantial, serve the grilled corn with a side of grilled meats, salads, or as part of a picnic spread.
- Experiment with different seasonings and toppings to find your favorite flavor combinations. Grilled corn is a versatile canvas for a wide range of flavors.
Common Mistakes to Avoid
- Not preheating the grill properly, leading to uneven cooking and a lack of char.
- Overcrowding the grill, which can cause the temperature to drop and result in steamed rather than grilled corn.
- Not turning the corn frequently enough, leading to burnt spots and uneven cooking.
- Not letting the corn rest after grilling, which can make it seem less tender and flavorful.
- Using low-quality or old corn, which can be tough and lacking in flavor.
- Not seasoning the corn generously enough, leading to a bland flavor profile.
Variations and Substitutions
- Mexican-style: Top the corn with mayonnaise, cotija cheese, chili powder, and lime juice for a flavorful and spicy twist.
- Italian-style: Drizzle with olive oil, sprinkle with Parmesan cheese, and add a pinch of red pepper flakes for a simple yet elegant side dish.
- Indian-inspired: Mix some garam masala, cumin, and coriander into the seasoning blend for a unique and aromatic flavor.
- Greek-style: Top the corn with feta cheese, a drizzle of olive oil, and a sprinkle of oregano for a refreshing and savory dish.
- Spicy: Increase the amount of cayenne pepper or add diced jalapeños to the seasoning blend for an extra kick of heat.
- Herby: Mix in some chopped fresh herbs like parsley, basil, or dill into the seasoning blend for a bright and fresh flavor.
- Smoky: Add some smoked paprika to the seasoning blend and serve the corn with a side of smoky barbecue sauce for a deep, smoky flavor.
What to Serve With Grilled Corn On The Cob
Grilled Corn On The Cob is incredibly versatile and can be served in a variety of settings. It makes a wonderful side dish for barbecues, picnics, or outdoor gatherings. You can also serve it as a light lunch or snack, paired with a salad or a bowl of soup for a satisfying meal.
Consider pairing the grilled corn with other summer favorites like grilled chicken, fish, or steak. It also pairs well with a variety of salads, such as a simple green salad, a caprese salad, or a hearty grain salad. For a more substantial meal, serve the corn alongside a grilled burger or as part of a taco bar with all the fixings.
Make-Ahead, Storage, Freezing and Reheating
If you're planning to make the Grilled Corn On The Cob ahead of time, you can grill the corn and then store it in the refrigerator for up to a day. Let it come to room temperature before serving, or gently reheat it in the oven or on the grill to restore its texture and flavor.
To freeze, place the grilled and cooled corn in airtight containers or freezer bags, making sure to press out as much air as possible before sealing. Frozen corn will keep for several months. When you're ready to serve, simply thaw the corn in the refrigerator overnight and reheat it as needed.
Reheating the corn can be done in the oven, on the grill, or even in the microwave. For the oven, wrap the corn in foil and heat at 350°F for about 10-15 minutes, or until warmed through. On the grill, place the corn over medium heat, turning frequently, until heated through. In the microwave, wrap the corn in a damp paper towel and heat for 20-30 seconds at a time, checking until the corn is warmed to your liking.
When reheating, be careful not to overheat the corn, as this can make it dry and tough. A gentle reheating, with frequent checks, will help preserve the texture and flavor of the grilled corn.
Frequently Asked Questions
Can I use frozen corn for this recipe?
While fresh corn is preferred for the best flavor and texture, you can use frozen corn as a substitute. Thaw the frozen corn first and pat it dry before grilling to remove excess moisture.
How do I know when the corn is done?
The corn is done when it's slightly charred on all sides and tender when pierced with a fork. You can also check for doneness by looking for a slight softening of the kernels and a deeper yellow color.
Can I grill corn in a grill pan on the stovetop?
Yes, you can grill corn in a grill pan on the stovetop. Preheat the pan over medium-high heat, add a small amount of oil, and grill the corn, turning frequently, until it's charred and tender.
Is Grilled Corn On The Cob gluten-free?
Yes, Grilled Corn On The Cob is naturally gluten-free, making it a great option for those with gluten intolerance or sensitivity. Just be sure to check the ingredients of any additional seasonings or toppings you use.
Can I customize the seasoning blend to my taste?
Absolutely, the seasoning blend is highly customizable. Feel free to experiment with different herbs, spices, and cheeses to find the combination that you enjoy the most.
How far in advance can I prepare the corn?
You can prepare the corn up to a day in advance. Grill the corn, let it cool, and then refrigerate or freeze it until you're ready to serve. Reheat gently to restore its texture and flavor.
Can I use a gas grill or charcoal grill for this recipe?
Both gas and charcoal grills work well for grilling corn. The key is to achieve a medium-high heat and to turn the corn frequently to ensure even cooking and charring.
Is it necessary to let the corn rest after grilling?
Yes, letting the corn rest for a few minutes after grilling allows the juices to redistribute, making the corn more tender and flavorful. It's a simple step that makes a big difference in the final dish.
Ingredients
- 4 ears of corn, husked and silked
- 2 tbsp olive oil
- 1 tsp salt
- 1/2 tsp black pepper
- 1/2 tsp garlic powder
- 1/2 tsp paprika
- 1/4 tsp cayenne pepper
- 2 tbsp chopped fresh parsley
- 1 tbsp lemon juice
- 1/4 cup grated Parmesan cheese
Instructions
- Preheat your grill or grill pan to medium-high heat, aiming for a temperature of about 375°F to 400°F. This high heat will help achieve a nice char on the corn.
- In a small bowl, mix together the salt, black pepper, garlic powder, paprika, and cayenne pepper. This blend will add depth and complexity to your corn.
- Brush each ear of corn with olive oil, making sure they are well-coated to prevent sticking and to add flavor.
- Sprinkle the seasoning blend evenly over the corn, turning the ears to ensure they are coated on all sides.
- Place the corn on the grill and close the lid. Grill for about 10-15 minutes, turning every 2-3 minutes, until the corn is slightly charred on all sides and tender when pierced with a fork.
- After grilling, remove the corn from the heat and let it rest for a few minutes. This resting time allows the juices to redistribute, making the corn more tender and flavorful.
- While the corn is resting, mix the chopped parsley and lemon juice in a small bowl. This fresh and tangy mixture will add a bright note to the dish.
- Once the corn has rested, brush it with the parsley and lemon juice mixture. This step adds a burst of freshness and helps to balance the smokiness from the grill.
- Sprinkle the grated Parmesan cheese over the corn. The salty, nutty flavor of the cheese complements the sweetness of the corn perfectly.
- Serve the Grilled Corn On The Cob hot, garnished with additional parsley if desired. You can also serve it at room temperature if you're preparing it ahead of time.
- For an extra burst of flavor, consider serving the corn with a dollop of sour cream or a sprinkle of cotija cheese. These additions can enhance the dish without overpowering the natural flavor of the corn.