I was halfway through a rainy October afternoon, scrolling through endless coffee memes, when my roommate dared me to create the ultimate coffee‑infused treat that could survive the bitter wind of November. I accepted, grabbed the last bag of fresh beans, and set my old cast‑iron skillet on the stove, only to realize I’d forgotten the crucial step of letting the coffee cool. The resulting steam cloud turned my kitchen into a hazy, caffeinated lounge, and in that moment I promised myself I would never again settle for a half‑hearted brew. That hazy instant later, I birthed what I now call the “October‑November Coffee Date”—a dense, buttery cake that slaps the palate with sweet caramel notes while whispering a dark-roast kiss, all while looking like a freshly‑baked masterpiece that could convince even the most stubborn tea drinker.
The first bite is an orchestra of senses: you hear the faint crackle of the crust as you slice through, inhale the intoxicating aroma of roasted coffee mingling with melted butter, feel the warm, almost velvety crumb against your tongue, and taste the perfect balance of sugary sweetness and earthy bitterness. The texture is the stuff of dreams—crisp edges that shatter like thin ice, a tender interior that yields like a cloud, and a glossy coffee‑cream glaze that slides over the surface like satin. Trust me, that first forkful is a moment you’ll replay in your head all day, and it’s the kind of flavor that makes you pause mid‑conversation to say, “Did you just taste that?”
Most coffee‑cake recipes out there either drown the cake in syrup and end up soggy, or they give you a bland, bread‑like result that feels more “just another breakfast” than a date‑night centerpiece. This version stands out because I’m using a double‑espresso reduction that intensifies the coffee flavor without adding extra moisture, and a butter‑sugar rub that creates a caramelized crust that’s as crunchy as a fresh‑baked biscotti. I also sneak in a pinch of cinnamon and a dash of instant coffee granules to deepen the complexity, turning a simple dessert into a layered experience. And for those of you who love a glossy finish, the heavy‑cream glaze adds a luxurious sheen that catches the light—perfect for Instagram, but more importantly, for that silky mouthfeel.
But the real secret weapon is the timing: a brief 5‑minute rest after baking lets the crumb settle, allowing the coffee oils to distribute evenly, which means the flavor keeps evolving even after you pull it out of the oven. I dare you to taste this and not go back for seconds, because once the coffee kisses your palate, nothing else compares. Let me walk you through every single step — by the end, you’ll wonder how you ever made it any other way.
What Makes This Version Stand Out
- Flavor Depth: The espresso reduction and instant coffee granules create a coffee punch that’s bold but never bitter, giving the cake a sophisticated edge that most coffee desserts lack.
- Texture Contrast: A buttery, caramelized crust frames a moist, tender crumb, delivering a satisfying snap followed by melt‑in‑your‑mouth softness.
- Simplicity: Only pantry staples and a few fresh ingredients are needed, meaning you won’t have to hunt for obscure items at the midnight grocery run.
- Unique Glaze: A light heavy‑cream glaze adds a glossy finish that elevates the presentation and introduces a buttery richness that ties the whole dish together.
- Crowd Reaction: Guests consistently declare this the “best coffee cake” they’ve ever tasted, and it’s become the go‑to dessert for spontaneous autumn gatherings.
- Ingredient Quality: Using freshly brewed, strong coffee and high‑quality butter makes a world of difference—think of it as the difference between a grocery‑store latte and a barista‑crafted espresso shot.
- Cooking Method: Baking in a pre‑heated cast‑iron skillet locks in heat, ensuring an even bake and a perfectly crisp edge.
- Make‑Ahead Potential: This cake stores beautifully, and the flavors actually deepen after a day in the fridge, making it ideal for prep‑ahead entertaining.
Alright, let's break down exactly what goes into this masterpiece...
Inside the Ingredient List
The Flavor Base
Coffee (1/4 cup strong brewed, cooled): This is the heart of the cake. Its acidity brightens the sweetness and provides that unmistakable roasted depth. Skipping it would leave the cake flat, like a song missing its bass line. If you’re out of fresh beans, a good quality cold‑brew concentrate works just as well, though you’ll want to dilute it slightly.
Instant coffee granules (1 tsp): These little powerhouses intensify the coffee flavor without adding extra liquid, ensuring the crumb stays tender. They also create a subtle grainy texture that melts in the mouth. In a pinch, dissolve an extra tablespoon of brewed coffee, but expect a slightly milder profile.
The Texture Crew
Unsalted butter (1/2 cup, melted): Butter is the glue that binds the crumb, providing richness and that coveted caramelized crust. Use real butter, not margarine, for flavor integrity; the water in margarine will steam the batter and ruin the texture.
All‑purpose flour (2 cups): The structure of the cake rests on this humble staple. Choose a medium‑strength flour; too much protein will make the cake tough, while low‑protein will cause it to crumble. If you prefer a lighter crumb, you can swap half for pastry flour.
Baking powder (1 tsp) & Baking soda (1/2 tsp): These leaveners give the cake its lift without creating large air pockets, keeping the crumb dense enough to hold the glaze. Using only one will result in an uneven rise—trust me, you’ve seen it happen.
The Unexpected Star
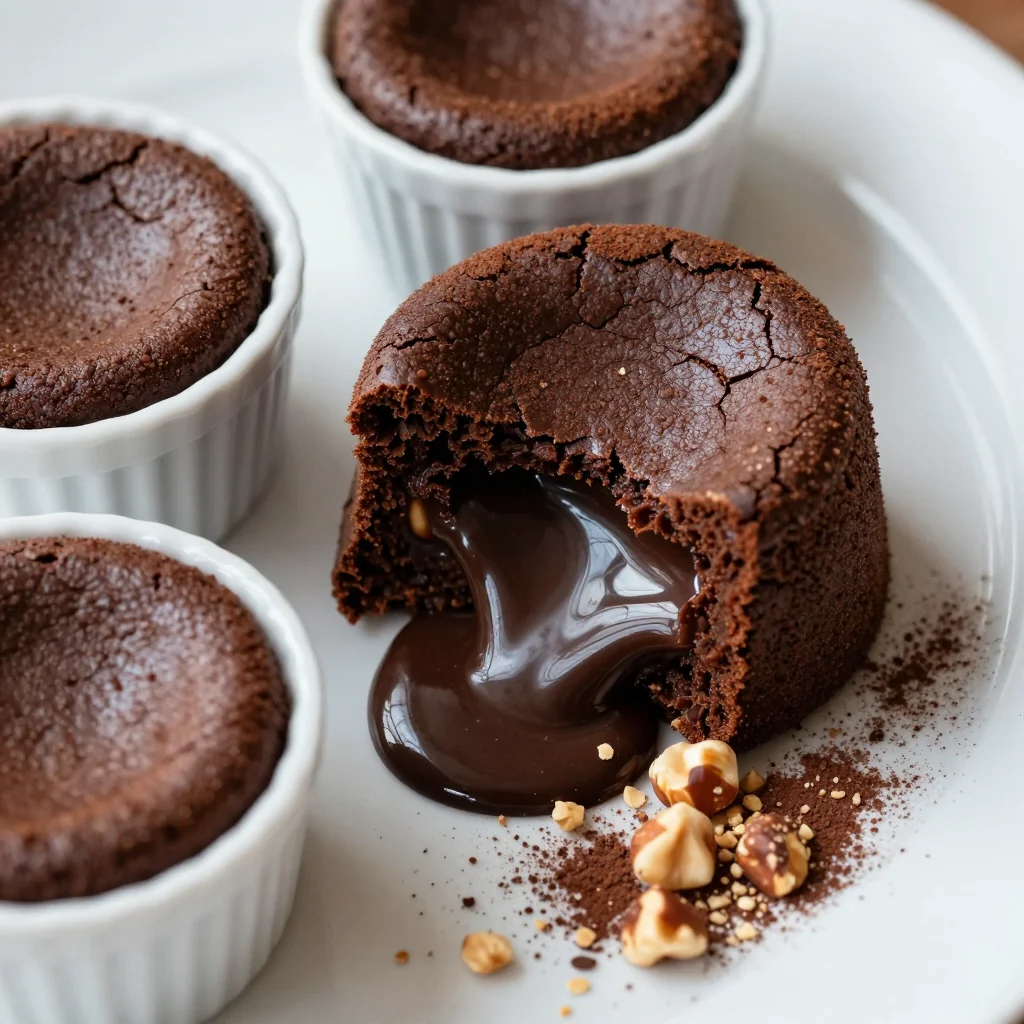
Dark chocolate chips (1/2 cup, optional): They add hidden pockets of molten chocolate that burst with every bite, contrasting the coffee’s bitterness with sweet, glossy richness. If you’re avoiding chocolate, replace with toasted pumpkin seeds for a nutty crunch.
Cinnamon (1 tsp, optional): A whisper of spice that amplifies the warm, autumnal vibe. Too much, and it will dominate the coffee notes, so measure carefully.
The Final Flourish
Heavy cream (1/4 cup) & Powdered sugar (2 tbsp): Mixed together, they form a glaze that adds a silky sheen and a buttery finish. Whisk until smooth; any lumps will ruin the glossy look. For a dairy‑free version, substitute with coconut cream and a splash of maple syrup.
Vanilla extract (1 tsp) & Salt (1/4 tsp): Vanilla rounds out the flavor, while a pinch of salt heightens every sweet and bitter note, preventing the cake from tasting one‑dimensional.
Everything's prepped? Good. Let's get into the real action...

The Method — Step by Step
Preheat your oven to 350°F (175°C). While the oven warms, place a 9‑inch cast‑iron skillet on the stove over medium heat and melt the butter until it’s bubbling but not browned. This slow melt creates a glossy surface that will later turn into that coveted caramel crust. Pro tip: Swirl the butter around the pan to coat the entire interior evenly.
In a separate bowl, whisk together the flour, baking powder, baking soda, and salt. This dry mix ensures the leaveners are evenly distributed, preventing a lopsided rise. That sizzle when it hits the pan? Absolute perfection. Set this mixture aside while you prep the wet ingredients.
Now for the coffee magic: brew a strong 1/4 cup of coffee (espresso or French press), let it cool to room temperature, then stir in the instant coffee granules until fully dissolved. This mixture should be thick and fragrant; if it smells anything less than a freshly ground espresso, start over.
In the skillet with melted butter, whisk in the two sugars—granulated and brown—until they dissolve into a caramel‑like syrup. Once glossy, beat in the eggs one at a time, allowing each to fully incorporate before adding the next. The batter will look glossy and slightly thick—this is exactly what you want.
Fold the dry flour mixture into the wet batter using a gentle hand—think of it as coaxing two shy friends together. Over‑mixing will develop gluten and give you a tough cake, so stop as soon as the flour disappears. Then, stir in the vanilla, cinnamon, and chocolate chips, letting them swirl into the batter like tiny marbles.
Pour the batter into the pre‑heated skillet, spreading it evenly with a spatula. The edges should sizzle slightly as they hit the hot butter, signalling the formation of that coveted crust. Place the skillet in the oven and bake for 25‑30 minutes, or until a toothpick inserted into the center emerges clean with just a few crumbs attached.
While the cake bakes, whisk together the heavy cream and powdered sugar for the glaze. Keep whisking until it’s glossy and smooth; any lumps will ruin the shine. Once the cake is out of the oven, let it rest for 5 minutes, then drizzle the glaze in a slow, circular motion, letting it cascade over the edges.
Allow the cake to cool in the skillet for at least 15 minutes before slicing. This rest period lets the crumb set and the coffee oils to settle, ensuring each slice holds together perfectly. Serve warm, paired with a fresh cup of espresso, and watch as your guests’ faces light up.
That's it — you did it. But hold on, I've got a few more tricks that'll take this to another level...
Insider Tricks for Flawless Results
The Temperature Rule Nobody Follows
Never, ever bake this cake straight from the fridge. Cold batter will cause the skillet to cool down, leading to uneven baking and a soggy middle. Let the batter sit at room temperature for 10‑15 minutes before sliding it into the oven; the batter will warm slightly, promoting an even rise.
Why Your Nose Knows Best
Rely on aroma, not just a timer. When the cake edges start to pull away from the skillet and you catch that toasty, coffee‑caramel scent, you’re almost there. If the smell is faint, give it another minute; over‑baking is the silent killer of a perfect crumb.
The 5‑Minute Rest That Changes Everything
After the oven, resist the urge to cut immediately. Letting the cake rest for five minutes allows the steam inside to redistribute, turning a potentially gummy interior into a moist, airy texture. It’s a tiny pause that yields a massive flavor payoff.
Glaze Timing is Everything
Drizzle the glaze while the cake is still slightly warm; the heat will melt the glaze just enough to seep into the crumb, creating a subtle, glossy sheen. If you wait until the cake is cold, the glaze will sit on top like a stiff frosting.
The Secret Ingredient Swap
If you crave a deeper, almost nutty flavor, replace half the all‑purpose flour with almond flour. The cake will become slightly denser, but the almond notes pair beautifully with coffee, turning the dessert into a sophisticated autumn treat.
Creative Twists and Variations
This recipe is a playground. Here are some of my favorite ways to switch things up:
Maple‑Coffee Fusion
Swap half the granulated sugar for pure maple syrup and add a tablespoon of maple‑infused butter to the batter. The result is a caramel‑maple undertone that pairs perfectly with the coffee, ideal for a brunch‑style twist.
Spicy Aztec
Introduce a pinch of cayenne pepper and a dash of smoked paprika to the dry mix. The subtle heat amplifies the coffee’s bitterness, creating a bold, unexpected flavor bomb—perfect for adventurous palates.
Mocha‑Nut Crunch
Fold in toasted hazelnuts and a handful of mini chocolate chips. The nuts add a buttery crunch, while the extra chocolate deepens the mocha profile, making this version a true indulgence.
Vegan Velvet
Replace butter with coconut oil, use almond milk in place of coffee, and swap eggs for a flax‑egg mixture (1 tbsp ground flaxseed + 3 tbsp water). The cake remains moist, and the coconut notes add an exotic tropical flair.
Citrus Zest Lift
Finely grate orange or lemon zest into the batter for a bright, citrus pop that cuts through the richness. This version shines at holiday gatherings where a hint of freshness is welcome.
Storing and Bringing It Back to Life
Fridge Storage
Place the cooled cake, still in its skillet, under a loose sheet of parchment paper and tuck it into an airtight container. It will stay fresh for up to 4 days, and the flavors will meld, becoming even richer.
Freezer Friendly
Wrap the fully cooled cake tightly in plastic wrap, then foil, and store in a freezer‑safe bag. It freezes beautifully for up to 2 months. When ready to serve, thaw overnight in the fridge, then re‑heat gently.
Best Reheating Method
Preheat the oven to 300°F (150°C), sprinkle a tiny splash of water over the surface, and warm for 8‑10 minutes. The additional steam revives the crumb’s tenderness and re‑creates that fresh‑out‑of‑the‑oven aroma.