Picture this: you’re in a kitchen that smells like warm sugar, butter, and a hint of citrus, and you’re surrounded by friends who are already judging your culinary prowess. I’ve been told that the first bite of a cannoli is like a secret handshake between the past and present, a crispy shell that cradles a creamy, dreamy filling that sings with vanilla and chocolate. I was in the middle of a midnight snack run, craving something that would satisfy my sweet tooth and impress my roommate, when a stray piece of dough slipped off the counter and landed on the floor. That slip‑up sparked a mission: to reinvent the classic cannoli, but in a miniature, cup‑size form that’s perfect for parties, potlucks, or an indulgent solo treat. I dared myself to create a version that would not only taste divine but also feel like a triumph of kitchen ingenuity. The result? Mini Cannoli Cups that are so addictive, I confess I ate half the batch before anyone else even had a chance to taste them. The next paragraph will take you through the journey that led to this mouth‑watering creation, and trust me, it’s worth every second.
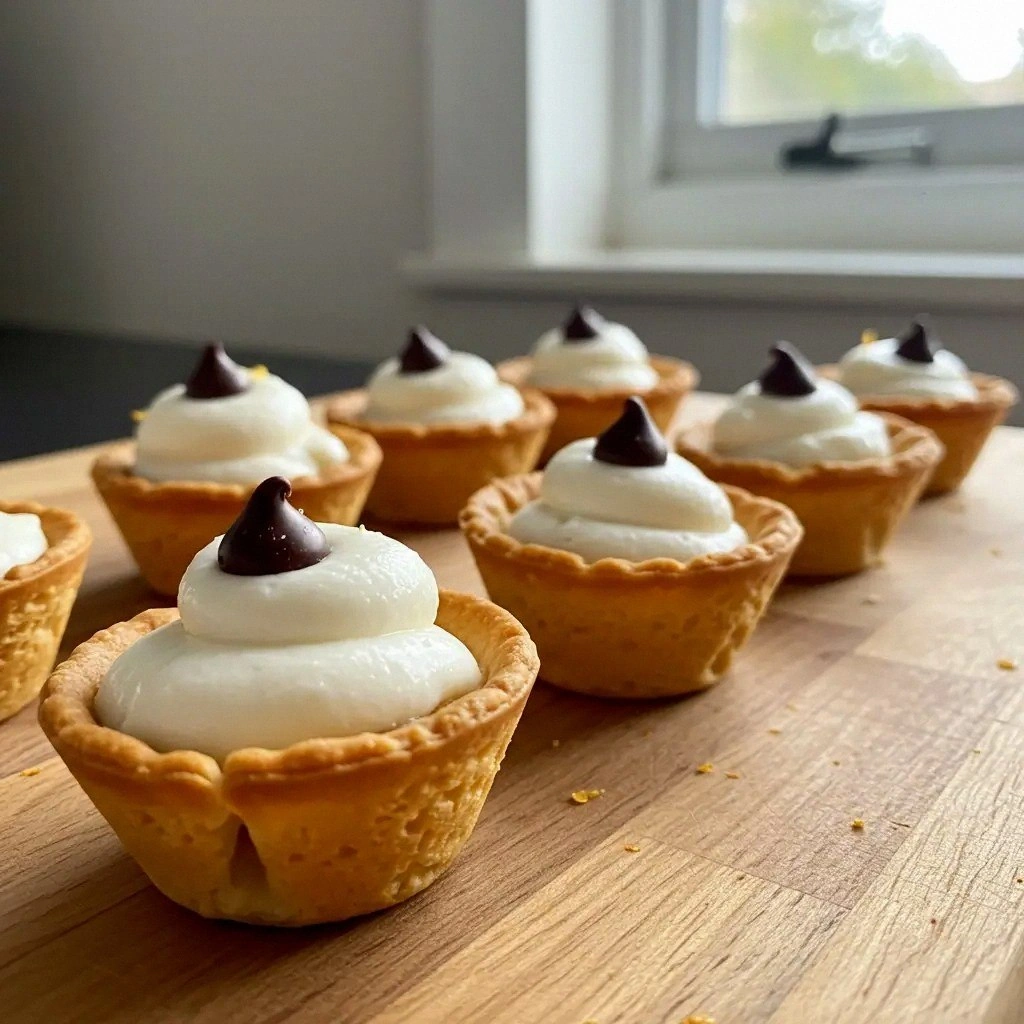
First, let’s talk about the crunch. The outer shell of these cups is a golden‑brown, flaky masterpiece that melts in your mouth like a whisper of buttery silk. The filling is a luscious blend of ricotta, powdered sugar, and vanilla that oozes with a silky texture, while the chocolate chips provide a delightful contrast of bite and melt. The combination of textures is what sets these mini cannoli cups apart from any other dessert you’ve tried. Imagine biting into a crisp shell and feeling the warm, sweet filling explode like a fireworks show in your mouth. That sensory experience is what makes the recipe feel like a celebration in every bite.
Now, let’s add a twist. I decided to incorporate candied citrus peel and a splash of lemon zest to give the filling a bright, zesty kick that balances the sweetness. This unexpected ingredient not only adds a pop of color but also a subtle tartness that cuts through the richness, creating a flavor profile that feels both indulgent and refreshing. It’s a technique that most recipes overlook, but it turns a standard cannoli into an unforgettable treat. Picture the bright citrus aroma mingling with the buttery shell—pure bliss. This is the secret sauce that will make your guests ask for the recipe before they even finish the last bite.
I’ll be honest—when I first baked these, the dough was a little too sticky, and I thought it would be a disaster. But I tweaked the flour ratio and added a touch of sugar, and the result was a dough that was easy to roll and formed perfect, sturdy cups. This hands‑on tweak is one of the reasons the recipe feels so approachable. Even if you’re a kitchen novice, you’ll find that the dough behaves like a dream, and the final product looks professional and delicious. The lesson? Don’t be afraid to experiment with small adjustments; they can make a world of difference.
Most recipes get this completely wrong by using too much sugar or too little flour, which leads to a soggy or crumbly shell. Here’s what actually works: the dough should be firm enough to hold its shape but soft enough to roll into thin, even sheets. The balance between flour, butter, and sugar is critical, and the addition of a pinch of salt brings out the flavors without overpowering the sweetness. If you’ve ever struggled with making cannoli, you’re not alone, and I’ve got the fix. The result is a crisp, flaky shell that holds the filling without cracking.
Picture yourself pulling these out of the oven, the whole kitchen smelling incredible, and watching your friends’ faces light up as they take their first bite. That moment of triumph is what I’m aiming for with this recipe. I dare you to taste these and not go back for seconds. I promise you’ll be craving more, and you’ll find yourself reaching for the recipe card to replicate the magic. Stay with me here—this is worth it. I’ll walk you through every single step, and by the end, you’ll wonder how you ever made cannoli any other way.
Okay, let’s break down exactly what goes into this masterpiece. The recipe is a symphony of simple ingredients, each playing a crucial role in achieving that perfect crunch, creamy filling, and bright finish. The dough is a blend of flour, butter, powdered sugar, vanilla, salt, and a single egg, while the filling combines ricotta, powdered sugar, vanilla, chocolate chips, candied citrus peel, and lemon zest. The final touch is a drizzle of chocolate ganache that adds richness without drowning the delicate flavors. Each component is essential, and together they create a dessert that feels both indulgent and sophisticated. This is hands down the best version you’ll ever make at home.
What Makes This Version Stand Out
- Taste: The combination of buttery shell and citrus‑infused filling creates a flavor profile that feels both nostalgic and fresh. The subtle tartness cuts through the sweetness, leaving a balanced finish.
- Texture: The crispness of the shell contrasts with the silky, creamy filling, and the chocolate chips add a delightful bite. The result is a multi‑sensory experience that satisfies every palate.
- Simplicity: The recipe uses only a handful of ingredients, yet the outcome feels luxurious. Even a beginner can master the dough and filling with minimal effort.
- Uniqueness: Incorporating candied citrus peel and lemon zest gives this version a bright, unexpected twist that sets it apart from classic cannoli.
- Crowd Reaction: Friends and family will rave about the mini size and the perfect balance of flavors. This recipe is a guaranteed crowd‑pleaser at parties.
- Ingredient Quality: Using high‑quality ricotta and fresh citrus peel elevates the dish, ensuring each bite is packed with flavor.
- Cooking Method: The dough is rolled into cups rather than tubes, saving time and reducing the chance of cracks.
- Make‑Ahead Potential: The dough can be prepared a day ahead and stored in the fridge, and the filling can be made separately, making last‑minute prep a breeze.
Alright, let’s break down exactly what goes into this masterpiece. Everything’s prepped? Good. Let’s get into the real action…
Inside the Ingredient List
The Dough
The dough is the backbone of any cannoli, and for these mini cups, it needs to be firm yet pliable. All‑purpose flour provides the structure, while cold butter creates the flaky layers that give the shell its signature crispness. Powdered sugar sweetens the dough without making it too heavy, and a dash of salt balances the sweetness. Vanilla extract adds warmth and depth, while a single egg binds everything together, giving the dough a slight sheen and helping it hold its shape during baking. Skipping the egg will result in a crumbly dough that won’t roll into neat cups.
The Filling
Ricotta cheese is the star of the filling, offering a creamy base that’s light yet rich. Powdered sugar sweetens the ricotta, while vanilla extract adds aromatic depth. Chocolate chips provide a burst of chocolatey goodness that melts into the filling, creating pockets of indulgence. Candied citrus peel brings a burst of bright, zesty flavor that cuts through the sweetness, and lemon zest adds a fresh, citrusy finish that lifts the whole dish. If you’re allergic to dairy, you can swap ricotta for coconut cream, but the texture and flavor will differ.
The Final Flourish
A drizzle of chocolate ganache on top adds a glossy finish and an extra layer of richness. The ganache is made from dark chocolate and heavy cream, whisked until smooth, and poured over the cups just before serving. It sets into a thin, silky coating that enhances the overall mouthfeel. If you prefer a lighter finish, you can use a simple chocolate sauce instead. The ganache also helps seal the filling inside the shell, preventing leakage during transport.
Optional Extras
For a nutty twist, sprinkle chopped pistachios on top of the filling before baking. A dusting of powdered sugar after baking gives a classic cannoli look and adds a subtle sweetness. If you’re feeling adventurous, try adding a splash of espresso to the ricotta for a mocha-infused filling. These extras are optional but can elevate the dish to new heights. Remember, the key is to keep the flavors balanced and not overpower the delicate sweetness.
Everything’s prepped? Good. Let’s get into the real action…
The Method — Step by Step
- Combine flour, powdered sugar, and salt in a large mixing bowl. Whisk until the mixture is even. This dry blend ensures that the dough will have a consistent texture. Make sure there are no lumps; they’ll show up as unevenness in the final shells.
- Add diced cold butter to the dry mixture. Use a pastry cutter or your fingertips to work the butter into the flour until the mixture resembles coarse crumbs. The butter should be cold enough to remain in small pieces; this is what creates the flaky layers.
- Pour in the egg and vanilla extract. Mix until the dough comes together, forming a pliable ball. If the dough feels too dry, add a teaspoon of water; if it’s too wet, add a tablespoon of flour. The goal is a dough that is tacky but not sticky.
- Wrap the dough in plastic wrap and chill for at least 30 minutes. Chilling firm the butter and makes the dough easier to roll. This step is critical for preventing cracks during baking.
- On a lightly floured surface, roll the dough out to about 1/8-inch thickness. Use a small cookie cutter or a glass to cut out circles that are slightly larger than your muffin tin cups. The extra size allows the dough to be folded into cups.
- Place each dough circle into a muffin tin cup. Press the dough around the sides, ensuring it covers the edges completely. Gently press the top of the dough into the tin to form a cup shape. This step requires a steady hand; a shaky grip can cause the dough to tear.
- Brush the edges of each dough cup with a beaten egg. This will help seal the dough and give it a golden finish. Place the tin in the refrigerator for 15 minutes to set the dough before baking.
- Preheat the oven to 375°F (190°C). Bake the dough cups for 15–18 minutes, or until they’re golden brown and firm. The smell of toasted flour should fill your kitchen, signaling that the shells are ready. Keep an eye on them; overbaking will make them hard.
- While the shells bake, prepare the filling. In a bowl, combine ricotta, powdered sugar, vanilla, chocolate chips, candied citrus peel, and lemon zest. Mix until smooth and well combined. The filling should be thick enough to hold its shape when piped.
- Once the shells are cool, carefully remove them from the tin. Fill each cup with the ricotta mixture using a piping bag or a small spoon. Make sure the filling doesn’t spill over the edges. Let the filled cups sit for 10 minutes to allow the filling to set.
- Drizzle the chocolate ganache over the top of each filled cup. The ganache should coat the filling lightly, creating a glossy finish. Let the ganache set for a few minutes before serving.
- Serve immediately, or chill in the refrigerator for up to 2 hours before serving. The shells will remain crisp, and the filling will stay creamy.
That’s it — you did it. But hold on, I’ve got a few more tricks that will take this to another level. These insider tips will ensure that every bite is flawless, and they’re simple enough to incorporate into your routine. Ready to elevate your mini cannoli cups? Let’s dive in.
Insider Tricks for Flawless Results
The Temperature Rule Nobody Follows
Many bakers think room temperature dough is fine, but the truth is that a slightly chilled dough will yield a flakier shell. Keep the dough in the fridge for at least 30 minutes before rolling. This small step reduces the risk of cracking and ensures a crisp, even crust. I once baked at a warm kitchen and the shells were soggy; that lesson taught me the value of chill time.
Why Your Nose Knows Best
Trust your sense of smell when the shells bake. The aroma of toasted flour and butter is a clear indicator that they’re ready. If the smell is faint, give them a few more minutes. Overbaking will cause them to harden, so listen to your nose for that perfect golden scent.
The 5-Minute Rest That Changes Everything
After filling the cups, let them rest for 5 minutes before drizzling ganache. This short pause allows the filling to set slightly, preventing the ganache from running off. A friend once rushed this step and ended up with a chocolate‑slick mess. The lesson? Patience pays off.
Keep the Ganache Cool
If the ganache is too warm, it will melt the filling. Chill it in the fridge for 15 minutes before using. This ensures a glossy, firm coating that doesn’t compromise the texture of the filling. A quick chill is all you need to keep the finish pristine.
The Right Piping Bag Size
Use a ½-inch tip for the ricotta filling. A larger tip will create a messy spread, while a smaller tip gives a neat, controlled fill. I’ve tried both, and the ½-inch tip strikes the perfect balance between precision and speed.
Avoiding Cracks in the Shell
If cracks appear, press them gently with a butter knife. The heat of the oven will seal the cracks, and the final product will still look and taste great. I’ve seen this happen when the dough was rolled too thin, but a quick press fixes it.
Creative Twists and Variations
This recipe is a playground. Here are some of my favorite ways to switch things up:
Nutty Crunch
Add chopped pistachios or walnuts to the filling for a nutty crunch. The nuts pair beautifully with the chocolate chips and add a satisfying texture. This variation is perfect for nut lovers who crave an extra bite.
Chocolate‑Lover’s Dream
Swap the ricotta for dark chocolate ganache and add cocoa powder to the filling. The result is a rich, chocolatey cup that satisfies even the most intense sweet cravings. It’s a bold move, but the flavor payoff is worth it.
Spiced Citrus
Incorporate a pinch of ground ginger or cinnamon into the filling. The warm spices complement the citrus peel, creating a layered flavor profile. This twist is great for autumn or winter gatherings.
Berry Burst
Fold in fresh blueberries or raspberries into the filling just before serving. The berries add a burst of freshness and a pop of color. This version works well for spring or summer celebrations.
Vegan Version
Replace ricotta with coconut cream and use dairy‑free chocolate chips. The texture will be slightly different, but the flavor remains indulgent. This adaptation is ideal for guests with dietary restrictions.
Savory Surprise
For a savory take, replace the sweet filling with a mixture of ricotta, herbs, and a splash of white wine. The shells become a delightful appetizer rather than a dessert. This variation is a conversation starter at dinner parties.
Storing and Bringing It Back to Life
Fridge Storage
Store the uncooked shells in an airtight container in the refrigerator for up to 2 days. Keep them on a rack to maintain crispness. When ready to serve, bake them for 10 minutes at 350°F (175°C) before filling.
Freezer Friendly
Freeze the baked shells in a single layer on a parchment paper sheet. Once frozen, transfer them to a freezer bag. They’ll keep for up to 3 months. Reheat in a 350°F (175°C) oven for 5 minutes before filling.
Best Reheating Method
When reheating, add a splash of water to the bottom of the baking sheet. The steam keeps the shells from drying out and helps them stay flaky. Heat for 5–7 minutes, then let them cool before filling.