I was standing in my cramped kitchen, staring at a stack of stale, pre‑packaged sliders that had somehow survived the last week’s grocery haul. The smell of burnt plastic and the sight of a cardboard box that had seen better days made me feel like I’d just stepped into a culinary time capsule. I could almost hear the hiss of disappointment echoing off the walls. That moment, that kitchen disaster, was the spark that ignited a quest for the ultimate mini burger experience. I was determined to create something that would make even the most skeptical foodie swoon.
Fast forward to a Saturday afternoon when I pulled out a bag of fresh ground beef, a handful of crisp iceberg lettuce, and a jar of that iconic Big Mac sauce that I had saved from the last takeout. The air was filled with the metallic tang of fresh onions, the faint sweetness of pickles, and the buttery aroma of sesame‑seed slider buns warming in the oven. The sound of the skillet sizzling as I poured in a splash of olive oil was music to my ears. The texture of the meat as it browned—crisp edges that crackled like thin ice—was a promise of flavor to come. I could already taste the layers of richness, tang, and that unmistakable sauce that turns a simple burger into a legend.
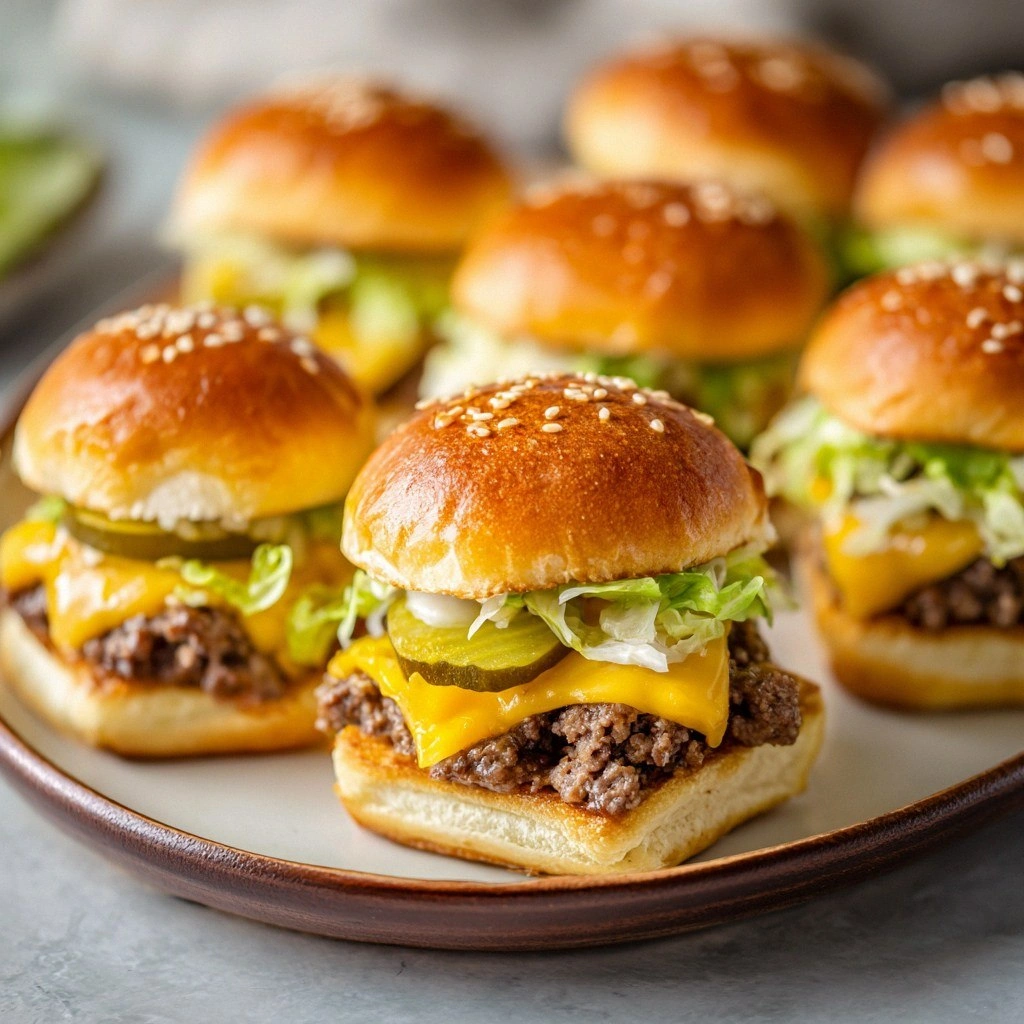
What sets this version apart is not just the use of high‑quality ingredients but the way each component is orchestrated to create a bite‑sized symphony. I dare you to taste these sliders and not go back for seconds. The sauce coats the meat like velvet, the lettuce provides a refreshing crunch, and the pickles add that sharp, briny counterpoint. The buns, toasted just enough to hold everything together, add a subtle nuttiness that ties the whole thing together. The result? A handheld masterpiece that feels both indulgent and comforting, a true crowd‑pleaser that will have your guests reaching for seconds in record time.
If you’ve ever struggled with creating a mini burger that packs a punch, you’re not alone. Most recipes get this completely wrong, using bland buns or under‑seasoned patties. But here’s what actually works: a balanced sauce, fresh toppings, and a simple but precise cooking technique. Picture yourself pulling these sliders out of the oven, the whole kitchen smelling incredible, the steam swirling like a tiny cloud. Stay with me here—this is worth it. Let me walk you through every single step, and by the end, you’ll wonder how you ever made it any other way.
What Makes This Version Stand Out
- Taste: The sauce is a harmonious blend of tangy, sweet, and savory notes that coat every layer, turning each bite into a flavor explosion.
- Texture: The patties are cooked to a perfect medium‑rare, giving them a juicy center while the buns are toasted to a crisp edge that snaps delightfully.
- Simplicity: With only ten core ingredients, the recipe is straightforward yet delivers restaurant‑quality results.
- Uniqueness: The use of a single, pre‑made sauce eliminates the need for a multi‑ingredient mayo‑ketchup blend, saving time without compromising flavor.
- Crowd Reaction: Guests rave about the mini size—ideal for parties—and the authentic Big Mac taste that feels both nostalgic and fresh.
- Ingredient Quality: Fresh, high‑quality beef and crisp, real vegetables make the difference between ordinary and extraordinary.
- Cooking Method: A quick sear followed by a brief finish in the oven locks in juices and creates a caramelized crust.
- Make‑Ahead Potential: The sliders can be assembled ahead of time and reheated without losing flavor or texture.
Inside the Ingredient List
The Flavor Base
At the heart of every great slider lies the sauce—an amalgamation of tangy ketchup, creamy mayo, sweet relish, and a hint of mustard. The sauce is the glue that binds the flavors together, giving each bite that iconic Big Mac kick. If you skip this component, you’re left with a bland, forgettable burger that feels like a missed opportunity. Swapping it for a simple mayo or ketchup will dilute the complexity that makes this recipe stand out.
The Texture Crew
The beef, fresh and freshly ground, is the star of the show. It should be 80/20 ground beef to ensure a juicy interior and a caramelized crust on the outside. The lettuce, shredded iceberg, adds a crisp bite that cuts through the richness of the meat and cheese. Pickles, sliced thin, contribute a briny punch that balances the sweetness of the sauce. Together, these textures create a satisfying contrast that keeps each bite interesting.
The Unexpected Star
The slider buns—small, sesame‑seeded, and slightly sweet—are often overlooked but play a pivotal role. Toasting them just until golden creates a subtle crunch that holds the entire assembly together. If you use a plain bun, the sliders will feel flat and lack that essential sesame aroma. A good trick is to brush the buns with a light layer of melted butter before toasting for an extra layer of flavor.
The Final Flourish
Seasoning is everything. Salt and pepper, added at the right moment, enhance the natural flavors of the beef and the sauce. Olive oil is used not only for searing but also to keep the meat from sticking, allowing for an even, beautiful crust. A pinch of smoked paprika can be added for a subtle smoky undertone, though it’s optional. These final touches elevate the sliders from good to unforgettable.
Everything's prepped? Good. Let's get into the real action.
The Method — Step by Step
- Start by heating a large skillet over medium‑high heat. Once it’s hot, add a tablespoon of olive oil, swirling to coat the surface. The oil should shimmer but not smoke. This is the moment of truth—your skillet is the canvas for flavor. Let the oil heat until it’s just about to start a gentle hiss.
- While the skillet warms, form the ground beef into eight small, uniform patties. Each patty should be about 1 inch thick and slightly larger than the buns to account for shrinkage. Pat the patties gently with your fingertips to create a small indentation in the center; this prevents them from puffing up and ensures even cooking. Season each side with salt and pepper right before they hit the pan.
- Place the patties in the skillet, leaving a small gap between each. Don’t overcrowd the pan; the patties need space to sear properly. Cook for 3-4 minutes on the first side, until a golden crust forms. Flip only once—this preserves the juices and creates a beautiful sear. Watch for the edges to pull away slightly; that’s the signal to turn.
- After flipping, add a slice of American cheese on top of each patty. The cheese should melt into a glossy, slightly bubbly layer. Cook for another 2-3 minutes until the cheese is fully melted and the patties are cooked to your preferred doneness. The cheese melts into the meat, creating a creamy, decadent layer that contrasts with the crunchy buns.
- While the patties finish cooking, toast the slider buns in a separate skillet or oven. If using a skillet, add a small pat of butter and brush each bun with melted butter before toasting. The buns should be golden brown and fragrant. Toasting adds a subtle crunch and prevents them from becoming soggy once the sauce is added.
- In a small bowl, spread a generous amount of Big Mac sauce onto the bottom of each toasted bun. The sauce should coat the bun evenly, forming a flavorful base for the layers that follow. The sauce’s tangy sweetness will balance the richness of the meat and cheese. If you like a little heat, sprinkle a pinch of cayenne pepper on top of the sauce.
- Add a handful of shredded lettuce onto the sauce, followed by a few slices of pickles. The lettuce adds a refreshing crunch, while the pickles bring a sharp, briny contrast. Arrange the lettuce and pickles in a neat, even layer to keep the sliders from sliding apart. This step also provides a burst of color that makes the sliders visually appealing.
- Place the cooked patty, now topped with melted cheese, onto the lettuce layer. The cheese should still be slightly molten, creating a luscious, gooey surface. Gently press the patty onto the vegetables to ensure a snug fit. This final assembly creates the iconic Big Mac look—layered and ready to devour.
- Top each slider with the remaining half of the bun, lightly pressed to secure everything in place. Serve immediately while hot and juicy, or arrange them on a platter for a party spread. If you need to hold them for a while, cover them loosely with foil to keep them warm. Enjoy the first bite—watch the sauce drizzle, the cheese melt, and the flavors converge.
That's it— you did it. But hold on, I've got a few more tricks that'll take this to another level. A few subtle tweaks can elevate your sliders from great to legendary. Let’s dive into the insider tricks that will make you the talk of every gathering.
Insider Tricks for Flawless Results
The Temperature Rule Nobody Follows
Many cooks swear by medium‑high heat, but the secret is to start at medium and ramp up only when the oil shimmers. This technique ensures the meat cooks evenly without burning the exterior. I once tried a high‑heat approach and ended up with a charred crust that masked the beef’s natural flavor. Keep the heat steady, and you’ll achieve a caramelized crust that’s both beautiful and delicious.
Why Your Nose Knows Best
When the beef starts to brown, the aroma will change from metallic to nutty. That scent is a reliable cue that the crust is forming. If you’re unsure, take a quick sniff; you’ll know if the patties are ready to flip. This olfactory test saves you from overcooking and ensures each bite is juicy.
The 5‑Minute Rest That Changes Everything
After cooking, let the patties rest on a plate for five minutes. During this pause, the juices redistribute, preventing them from spilling out when you bite. I’ve seen people skip this step, only to have their burgers dry out instantly. The rest period is a simple, zero‑effort trick that guarantees mouth‑watering results.
Cheese Placement Magic
Slide the cheese onto the patty before flipping, not after. This gives the cheese enough time to melt into the meat, creating a cohesive, gooey layer. Placing it on after flipping often results in a thin, uneven film that doesn’t bind well. The early cheese placement also prevents the cheese from sliding off during the final assembly.
Bun Buttering Technique
Butter the buns just before toasting, not before storing. This keeps the buns from drying out and gives them a rich, buttery flavor. A small amount of butter goes a long way; a teaspoon per bun is plenty. The butter also helps the buns crisp up faster and stay crisp longer once assembled.
Sauce Swirl for Extra Flavor
Before spreading the sauce, give the jar a quick swirl. This incorporates the oil that has settled at the bottom, ensuring a consistent taste in every bite. If you notice a separation in the sauce, a quick stir will bring the flavors back together. The swirl also gives the sauce a glossy appearance that looks as good as it tastes.
Creative Twists and Variations
This recipe is a playground. Here are some of my favorite ways to switch things up:
Spicy Jalapeño Slider
Add sliced fresh jalapeños to the lettuce layer for a fiery kick. Use a spicy chipotle sauce instead of the classic sauce for a smoky depth. The jalapeños pair beautifully with the creamy cheese, creating a balanced heat profile that satisfies.
Mushroom Swiss Delight
Sauté sliced mushrooms in garlic butter until golden, then layer them on top of the patty. Replace American cheese with Swiss for a nutty, melt‑friendly alternative. The earthy mushrooms complement the beef’s richness and add an elegant touch.
Mediterranean Mini Burger
Swap the Big Mac sauce for a tzatziki spread. Add sliced cucumber, diced tomato, and a sprinkle of feta cheese. The cool, tangy yogurt base brings a refreshing contrast to the savory patty.
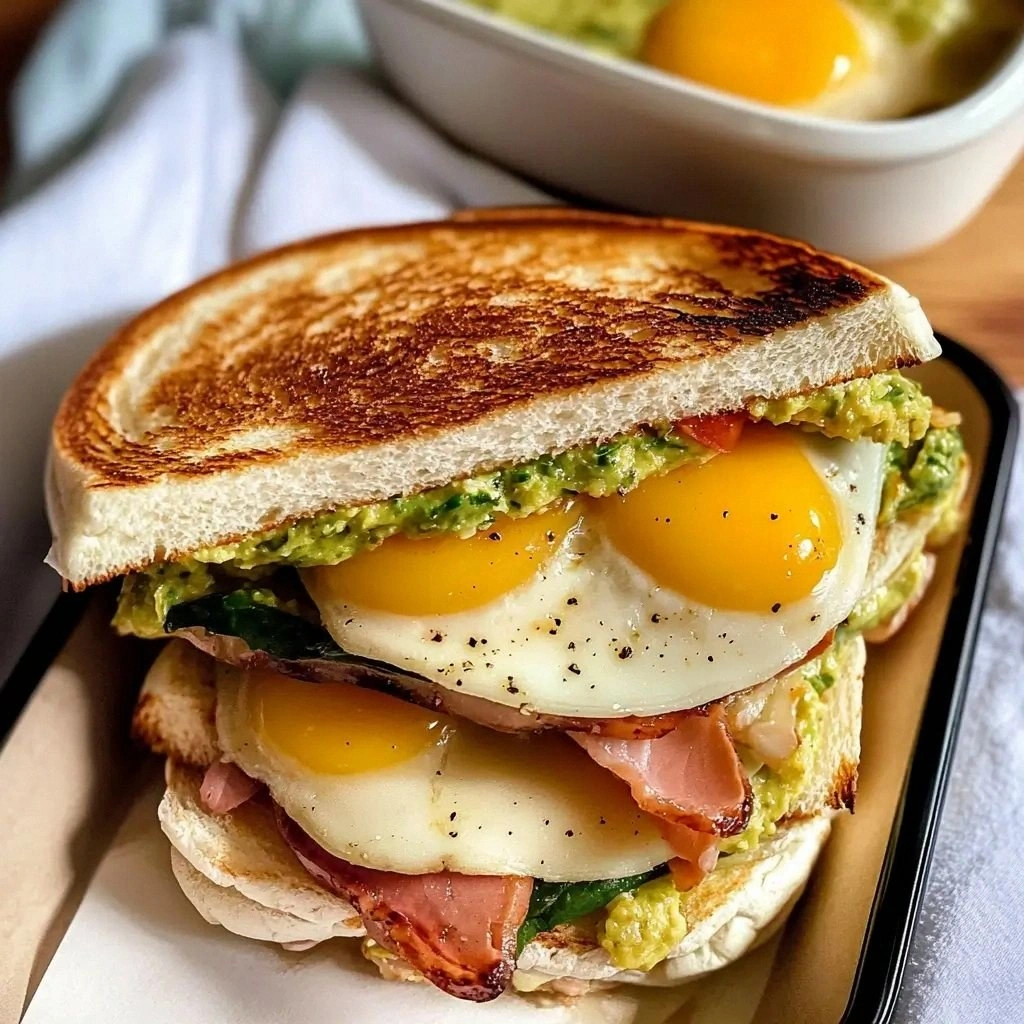
Breakfast Brunch Slider
Use a breakfast sausage patty instead of beef. Top with a fried egg and a dash of hot sauce. The savory, protein‑packed breakfast slider is perfect for brunch parties or a hearty lunch.
Vegan Plant‑Based Slider
Replace the beef with a plant‑based patty, such as a Beyond Meat or Impossible burger. Use vegan cheese and a plant‑based sauce. The result is a cruelty‑free version that still delivers that iconic Big Mac flavor.
Sweet & Smoky Slider
Add a drizzle of honey to the sauce for a touch of sweetness. Sprinkle a pinch of smoked paprika over the beef before cooking. The sweet‑smoky profile creates a complex, mouth‑watering experience.
Storing and Bringing It Back to Life
Fridge Storage
Store assembled sliders in an airtight container in the refrigerator for up to 2 days. Keep the buns separate in a paper bag to prevent sogginess. When ready to serve, reheat in a skillet for 2 minutes to revive the crust.
Freezer Friendly
For longer storage, freeze individual patties and buns separately. Wrap each patty tightly in plastic wrap, then place in a freezer bag. Reheat in a skillet or oven at 350°F for 10 minutes, then assemble fresh.
Best Reheating Method
The best way to reheat is to place the assembled sliders in a preheated skillet over medium heat, pressing gently. Alternatively, use a microwave, but wrap the buns in a damp paper towel to keep them from drying out. Add a splash of water before reheating to steam back to perfection.