I was halfway through a midnight snack raid when the kitchen turned into a chocolate battlefield. A stray spoon slipped, sending a mound of melted chocolate across the countertop, and I stared at the mess like it was a modern art installation. That moment sparked a craving that no ordinary dessert could satisfy—something that would make my taste buds sing and my Instagram feed pop. I was determined to turn that kitchen calamity into a culinary masterpiece that would wow my friends, and I knew it had to be simple, indulgent, and absolutely unforgettable.
Picture this: a glossy, chocolatey sheen that coats every surface, the sweet, airy aroma of toasted marshmallows drifting through the air, and the gentle clink of a spoon against a glass bowl. The first bite releases a cascade of silky chocolate, followed by the soft, chewy burst of marshmallow that feels like a cloud that has decided to stay on the plate. The texture is a delicate balance between melt-in-your-mouth and a satisfying, slightly chewy bite that lingers. I could almost hear the sighs of delight from my friends as they tasted the first spoonful.
What makes this version stand out from the countless chocolate marshmallow recipes on the internet is that it strips the process down to its purest form—three ingredients, no fuss, no fancy equipment. It’s the kind of recipe that feels like a secret handshake between you and the kitchen: you know the magic, you trust the method, and you’re rewarded with a dessert that feels like a warm hug on a cold day. The simplicity is a bold claim in a world that loves to overcomplicate; it’s hands down the best version you’ll ever make at home. I dare you to taste this and not go back for seconds.
And I’ll be honest—when I first made the first batch, I ate half the batch before anyone else got a chance to try it. The sheer richness of the chocolate, combined with the airy marshmallows, creates a flavor profile that is both familiar and entirely new. The result is a dessert that feels like a celebration of pure comfort, without any of the guilt that often comes with indulgence. If you've ever struggled with overcomplicated chocolate desserts, you're not alone—and I've got the fix.
So if you're ready to ditch the endless lists of ingredients and complex steps, let me walk you through every single step. By the end, you'll wonder how you ever made it any other way. Picture yourself pulling this out of the oven, the whole kitchen smelling incredible, and your guests gasping as they taste the first spoonful. This is the kind of dessert that turns an ordinary evening into a memorable culinary experience.
What Makes This Version Stand Out
- Pure Simplicity: With only three ingredients, you can whip up a decadent dessert in minutes, saving you time and reducing the chance of mistakes. The fewer the components, the easier it is to manage flavors and textures. This recipe eliminates the need for measuring spoons or specialized equipment, making it a go-to for busy evenings.
- Unmatched Flavor: The combination of rich chocolate and airy marshmallows delivers a taste that is both indulgent and comforting. The chocolate melts smoothly, coating each marshmallow in a silky coating that feels like velvet against the palate. The result is a harmonious balance of sweetness and richness that satisfies every craving.
- Texture Mastery: The mousse achieves a creamy consistency with a subtle, chewy bite from the marshmallows. Each spoonful is a dance of melt and chew, creating a multi-sensory experience that feels both luxurious and playful. This texture contrast is what makes the dessert unforgettable.
- Make‑Ahead Potential: The mousse can be prepared in advance and refrigerated for up to three days, making it a convenient dessert for parties or last‑minute gatherings. The flavors deepen over time, resulting in an even richer experience when served chilled. This makes it a practical choice for busy schedules.
- Versatile Base: While the base remains simple, it provides a canvas for endless variations—from adding a splash of espresso to sprinkling sea salt on top. The recipe is a playground for creativity, allowing you to tailor it to your taste or dietary preferences. This versatility is a major selling point for adventurous cooks.
- Crowd‑Pleaser: Friends and family are drawn to its irresistible look and flavor. The glossy chocolate coating and the playful marshmallow peaks create a visual appeal that makes it a showstopper at any gathering. You’ll find yourself receiving compliments and requests for extra servings.
- Ingredient Quality: Using high‑quality chocolate and marshmallows elevates the dessert’s flavor profile, ensuring that each bite is as decadent as it is smooth. The quality of the ingredients directly impacts the final taste, making it essential to choose premium options. This emphasis on quality sets the recipe apart from generic versions.
- Quick Transformation: The process turns ordinary pantry staples into a gourmet dessert in a fraction of the time it takes for more elaborate recipes. This efficiency makes it an ideal choice for those who want a treat without the wait. The quick turnaround is a testament to the recipe’s clever design.
Inside the Ingredient List
The Flavor Base
Chocolate chips are the cornerstone of this mousse, providing the deep, robust flavor that anchors every bite. The quality of the chocolate directly affects the final taste; a higher cocoa content delivers a richer, more complex profile. If you prefer a sweeter mousse, opt for semi‑sweet chips with a lower cocoa percentage. The chocolate also acts as the binding agent, ensuring the mixture holds together without any additional stabilizers. A small pinch of sea salt can elevate the chocolate’s natural sweetness and bring out its nuanced undertones.
When selecting chocolate chips, look for those labeled “high cocoa” or “dark chocolate.” These varieties contain less sugar, which balances the marshmallows’ sweetness and creates a more sophisticated dessert. If you’re using a chocolate bar, chop it into small pieces to ensure even melting. The melting process should be gentle; overheating can cause the chocolate to seize and become grainy. The final consistency should be glossy and slightly thick, ready to coat the marshmallows.
The chocolate’s role extends beyond flavor; it also influences texture by creating a smooth, velvety coating around the marshmallows. The melted chocolate forms a thin film that sets as it cools, giving the mousse a firm yet creamy bite. This film is essential for the dessert’s signature mouthfeel, allowing the marshmallow to retain its airy structure. The chocolate’s natural fats contribute to a silky mouthfeel, which is why the mousse feels indulgent without being overly heavy. A well‑chosen chocolate chip can turn a simple dessert into a luxurious experience.
If you’re adventurous, you can experiment with different chocolate varieties—dark, milk, or even white chocolate—to create distinct flavor profiles. Each type brings its own sweetness level and mouthfeel, allowing you to customize the mousse to your palate. However, remember that the chocolate’s quality remains paramount; cheap chips can lead to a dull, uneven flavor. Keep the chocolate’s flavor front and center by choosing reputable brands known for their cocoa content. This careful selection ensures every spoonful is a delight.
The Texture Crew
Mini marshmallows are the texture engine, delivering the soft, chewy bite that contrasts beautifully with the chocolate coating. Their small size allows for even distribution throughout the mousse, ensuring a consistent experience with each bite. Marshmallows also contribute a subtle sweetness that balances the chocolate’s richness. If you prefer a firmer bite, you can lightly toast the marshmallows in a dry skillet until golden, adding a hint of caramelized flavor.
When incorporating marshmallows, it’s essential to handle them gently to preserve their airy structure. Over‑mixing can cause the marshmallows to break down, resulting in a dense, less desirable texture. Instead, fold them in slowly, using a spatula to maintain their shape. The marshmallows’ moisture content also affects the mousse’s consistency; too much moisture can make it runny. Adjust the amount slightly if you notice the mixture becoming too fluid.
The marshmallows’ flavor is mild, allowing the chocolate’s depth to shine through. However, they also carry a subtle vanilla undertone that enhances the overall taste. This subtlety is why the mousse feels both comforting and sophisticated. When the marshmallows melt slightly from the chocolate’s heat, they release a sweet, airy aroma that lingers in the kitchen. This aroma is a key component of the dessert’s sensory appeal.
If you’re looking to tweak the texture, consider adding a pinch of ground cinnamon or a splash of espresso. These additions can create a subtle depth of flavor while maintaining the mousse’s airy core. Alternatively, you can experiment with different marshmallow varieties—plain, chocolate‑filled, or flavored—to customize the dessert’s taste. Each variation offers a unique twist while preserving the mousse’s fundamental structure.
The Unexpected Star
Butter is the unexpected star that ties the chocolate and marshmallows together, creating a silky, cohesive texture. Unsalted butter adds richness without overwhelming the chocolate’s flavor, ensuring the mousse remains balanced. The butter’s fat content helps the chocolate melt evenly, preventing clumps and promoting a smooth coating. It also contributes to the mousse’s overall mouthfeel, giving it a luxurious, velvety finish.
The role of butter extends beyond texture; it also acts as a flavor enhancer, amplifying the chocolate’s depth and the marshmallows’ sweetness. When melted, the butter integrates seamlessly with the chocolate, creating a homogeneous mixture. This integration is critical for achieving the mousse’s signature consistency. A small amount of butter is all you need—too much can make the mousse greasy, while too little may result in a dry texture.
If you’re looking for a dairy‑free alternative, coconut butter or a plant‑based butter can replicate the same richness and melt characteristics. These options provide a subtle coconut undertone that can add an extra layer of flavor. However, keep in mind that coconut butter has a distinct taste that may alter the mousse’s overall profile. For a truly classic experience, stick with high‑quality unsalted butter to preserve the dessert’s integrity.
Butter also plays a crucial role in the mousse’s shelf life, helping to keep the mixture stable and preventing separation. The fat content creates a protective layer around the marshmallows, maintaining their structure over time. This stability is especially important if you plan to store the mousse in the refrigerator or freezer. By using the right amount of butter, you can enjoy a fresh, decadent dessert for days.
The Final Flourish
A pinch of sea salt is the final flourish that elevates the mousse from good to unforgettable. Salt cuts through the chocolate’s sweetness, bringing out its deeper, more complex flavors. It also enhances the marshmallows’ airy sweetness, creating a balanced taste profile that satisfies the palate. The salt’s subtle presence adds a layer of sophistication to the dessert.
The salt should be added sparingly—just enough to balance the sweetness without overpowering the chocolate. A small pinch is sufficient; too much can make the mousse taste metallic. When you sprinkle the salt, let it settle for a moment before serving, allowing the flavors to meld. This final touch ensures that every spoonful is a harmonious blend of sweet, salty, and creamy.
If you’re looking for a twist, try adding a few drops of orange zest or a splash of almond extract. These additions can introduce a subtle citrus or nutty undertone, adding depth to the mousse’s flavor profile. The key is to keep the additions minimal, ensuring that the chocolate and marshmallows remain the stars of the show. Experimenting with these subtle tweaks can transform the mousse into a personalized signature dessert.
The final flourish is essential for the mousse’s overall sensory experience. The salt’s presence creates a pleasant contrast, making the dessert feel more complex and satisfying. It also helps to balance the richness of the chocolate and butter, preventing the mousse from feeling heavy. By carefully selecting the right amount of salt, you can elevate the dessert to a gourmet level.
Everything's prepped? Good. Let's get into the real action.
The Method — Step by Step
- Gather all three ingredients and place them in a heat‑proof bowl. The chocolate chips, mini marshmallows, and butter should be at room temperature to ensure even melting. This step is crucial for achieving a smooth, homogeneous mixture. I recommend using a glass bowl for better heat distribution. Let the bowl rest on the stovetop as you prepare the next step.
- Place the bowl over a pot of gently simmering water, making sure the bottom of the bowl does not touch the water. Stir the chocolate and butter together until completely melted and silky. The mixture should look glossy and have a smooth, even texture. This is the moment of truth—if the chocolate hasn’t fully melted, the mousse will be uneven. Keep the heat low to prevent the chocolate from scorching.
- Once melted, remove the bowl from the heat and let it cool for about 2 minutes. The chocolate should be warm but not hot enough to melt the marshmallows instantly. This cooling period allows the chocolate to thicken slightly, making it easier to coat the marshmallows. If you’re in a hurry, you can skip this step, but the mousse may be less cohesive.
- Fold the mini marshmallows into the chocolate mixture gently with a spatula. The goal is to coat each marshmallow evenly without crushing them. This step ensures that the mousse will have a consistent texture throughout. The marshmallows should be evenly distributed, creating a pleasing visual contrast. Take your time; this part is key to the dessert’s mouthfeel.
- Add a pinch of sea salt and stir until it’s fully incorporated. The salt will balance the sweetness and enhance the chocolate’s depth. If you prefer a sweeter mousse, reduce the salt slightly. Be careful not to over‑salt, or the dessert will taste metallic. The salt should dissolve completely, leaving a subtle flavor behind.
- Transfer the mixture into a silicone mold or a lined loaf pan for a neat, uniform shape. The silicone mold is ideal for easy release and a clean presentation. If you’re using a loaf pan, line it with parchment paper to prevent sticking. This step ensures that the mousse sets in a single, cohesive block.
- Tap the mold gently on the counter to release any air bubbles and level the surface. This helps the mousse set evenly and prevents uneven texture. The smooth surface also enhances the mousse’s visual appeal. A quick tap will remove any trapped air, giving you a flawless finish. This simple technique is often overlooked but makes a big difference.
- Place the mold in the refrigerator for at least 30 minutes to allow the mousse to set completely. The chilling process firms up the chocolate, creating a solid yet creamy dessert. During this time, the marshmallows will be fully coated and the mousse will develop its final texture. The refrigerator should be at a steady temperature to avoid any condensation.
- After 30 minutes, remove the mousse from the refrigerator and let it sit at room temperature for 5 minutes before slicing. This brief rest allows the mousse to soften slightly, making it easier to cut clean slices. The mousse should feel firm but not rock hard. This step is essential for a smooth, creamy bite.
- Slice the mousse into even portions using a hot knife for clean cuts. A hot knife glides through the mousse without tearing the delicate chocolate coating. Slice each portion carefully to maintain the mousse’s integrity. The knife should be wiped clean between cuts to avoid sticking.
- Serve immediately or store in an airtight container in the refrigerator for up to three days. The mousse remains creamy and flavorful when stored properly. When you’re ready to serve, let it sit at room temperature for a few minutes to soften slightly. The chocolate will regain its glossy sheen, making the dessert even more appealing.
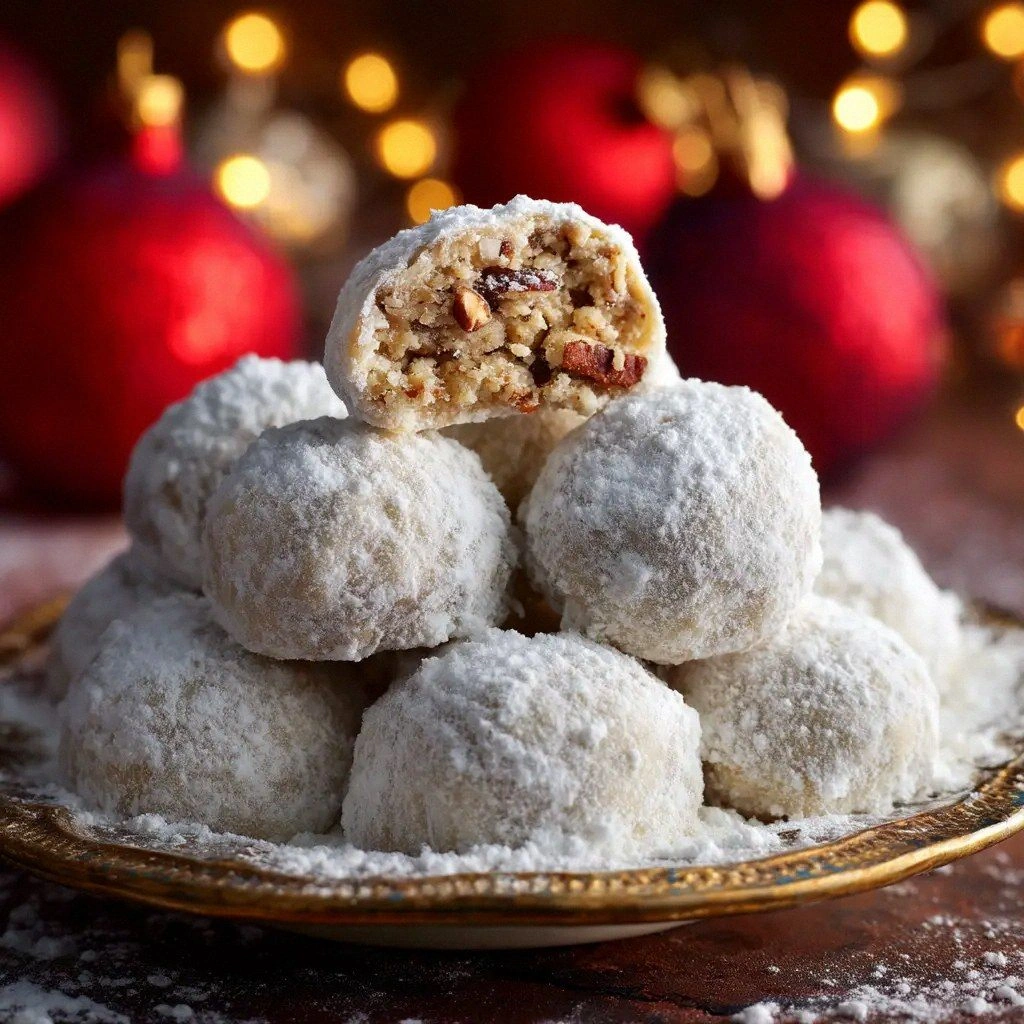
- Optional: Top with a dusting of cocoa powder or crushed nuts for added texture and visual appeal. This finishing touch adds a subtle crunch and enhances the chocolate flavor. The cocoa powder should be light, just enough to add depth. The nuts provide a delightful contrast in texture.
That's it — you did it. But hold on, I've got a few more tricks that'll take this to another level. The next section will reveal insider tips that will elevate the mousse from good to unforgettable.
Insider Tricks for Flawless Results
The Temperature Rule Nobody Follows
The temperature of the chocolate is paramount; too hot and it will scorch, too cool and it won’t melt properly. Aim for a gentle melt at around 45°C (113°F) to keep the chocolate silky and prevent separation. A simple thermometer or the fingertip test—touch the chocolate; if it feels warm but not hot—works well. This subtle control ensures a consistent, glossy finish. A quick note: never let the chocolate sit on a hot surface for more than a minute.
Why Your Nose Knows Best
Before you taste the mousse, sniff it first. A subtle, sweet aroma of chocolate and marshmallow indicates that the ingredients are properly blended. If the scent is muted, it might mean the mixture is too thick or the chocolate hasn’t fully incorporated. A strong, sweet smell signals the mousse is ready to taste. Your nose is a reliable guide to the dessert’s readiness.
The 5-Minute Rest That Changes Everything
After the mousse has set, let it rest at room temperature for 5 minutes before slicing. This short rest allows the chocolate to relax, making the mousse easier to cut cleanly. If you cut immediately, the chocolate may crack, ruining the presentation. The 5-minute rest also lets the flavors meld together, enhancing the overall taste. This small step often goes unnoticed but makes a huge difference.
The Secret to a Glossy Finish
If you want a glossy, chocolatey sheen on the surface, brush a thin layer of melted chocolate over the top after it has set. This technique gives the mousse a professional look and adds an extra layer of flavor. Make sure the chocolate is smooth and free of lumps before brushing. The glossy finish will also help the mousse hold its shape when sliced.
The Quick Chill Trick
To speed up the setting process, place the mousse in the freezer for 10 minutes after the initial 30-minute refrigeration. This quick chill locks in the texture and gives the mousse a firmer bite. Be careful not to over‑freeze, or the chocolate may develop a white “bloom” that alters the appearance. A quick 10-minute freeze is enough to give the mousse a solid structure without compromising flavor.
The Flavor Layering Hack
Add a splash of espresso or a dash of vanilla extract during the chocolate melt to create a subtle depth of flavor. Espresso enhances the chocolate’s bitterness, while vanilla adds a warm, aromatic note. These additions can elevate the mousse to a gourmet level without complicating the recipe. The key is to add just a few drops—enough to be noticeable but not overpowering.
The Final Touch of Sea Salt
A pinch of sea salt can transform the mousse’s flavor profile, cutting through sweetness and enhancing the chocolate’s richness. Sprinkle the salt evenly over the surface before serving for a balanced taste. The salt should be minimal—too much can ruin the delicate balance. When you taste it, you’ll notice a subtle lift in the overall flavor, making each bite more satisfying.
Creative Twists and Variations
This recipe is a playground. Here are some of my favorite ways to switch things up:
Espresso Infusion
Add a splash of strong espresso to the chocolate melt for a mocha twist. The espresso deepens the chocolate flavor and adds a subtle bitter note that balances the sweetness. This version is perfect for coffee lovers who want a dessert that pairs well with a latte. The espresso also creates a glossy finish that looks stunning.
Nutty Crunch
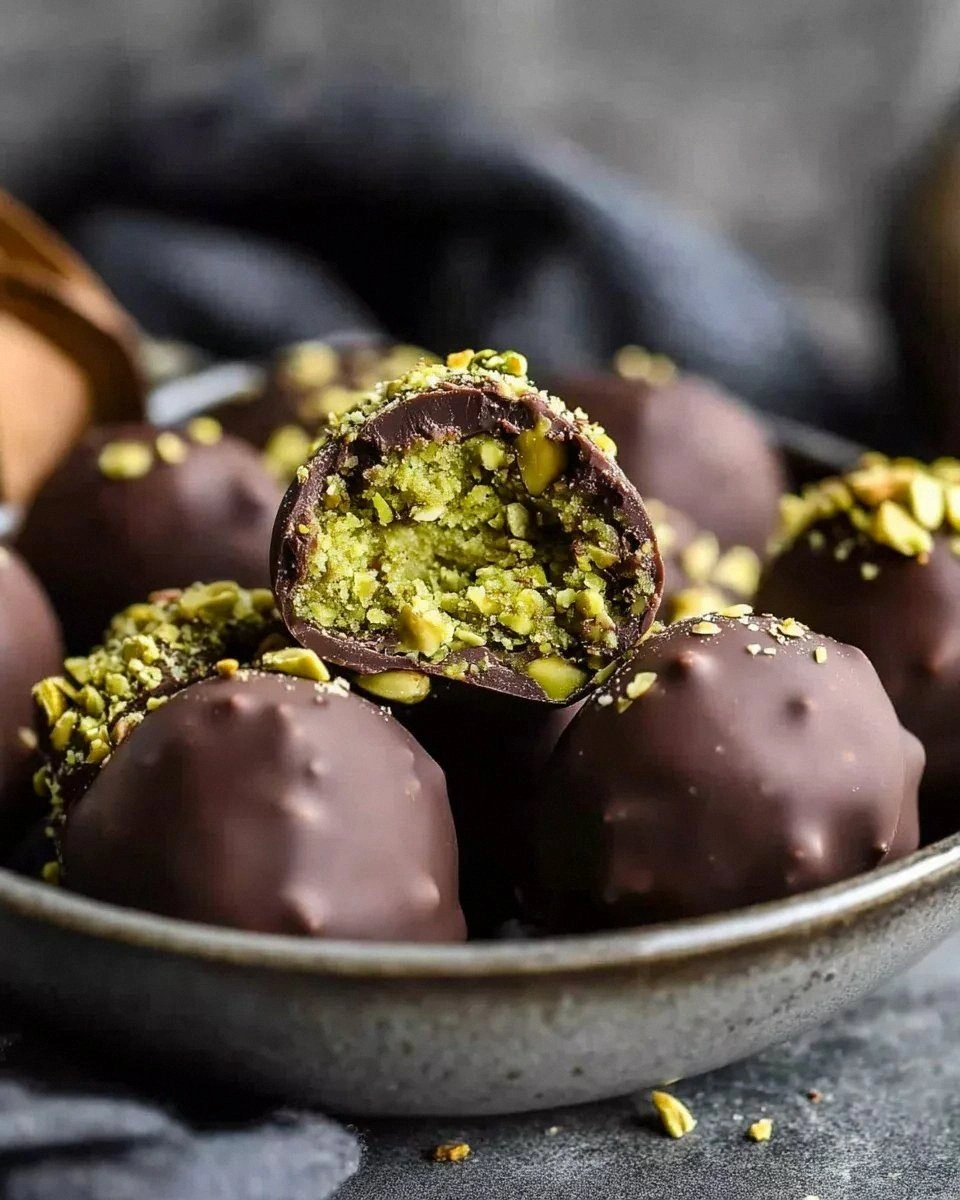
Incorporate chopped pistachios or hazelnuts into the mousse for added crunch. The nuts provide a contrasting texture and a nutty flavor that complements the chocolate. Sprinkle extra nuts on top for an extra layer of flavor. This variation is ideal for those who enjoy a bit of crunch in their desserts.
Citrus Zest
Add a teaspoon of orange zest to the chocolate mixture for a bright, citrusy undertone. The zest brings a fresh, aromatic note that lifts the chocolate’s richness. This twist is especially refreshing during summer gatherings. The citrus also adds a subtle color contrast to the glossy chocolate.
Minty Delight
Stir in a few drops of peppermint extract for a minty chocolate mousse. The mint adds a cool, refreshing flavor that pairs wonderfully with chocolate. This version is ideal for holiday parties or a festive treat. The mint also gives the mousse a subtle green hue that’s visually appealing.
Caramel Swirl
Swirl caramel sauce into the mousse for a sweet, buttery addition. The caramel adds a gooey texture and a deep, buttery flavor that enhances the chocolate. This variation is perfect for those who love a rich, decadent dessert. The caramel swirl also creates a beautiful visual contrast.
Spiced Surprise
Add a pinch of cinnamon or a dash of cayenne pepper to give the mousse a warm, spicy kick. The spices add depth and complexity, making the dessert feel more sophisticated. This version is great for those who enjoy a bit of heat in their sweet treats. The spices also create a subtle aroma that’s irresistible.
Storing and Bringing It Back to Life
Fridge Storage
Store the mousse in an airtight container in the refrigerator for up to three days. The airtight seal prevents the mousse from absorbing odors from other foods. Keep the container at a consistent temperature to maintain the mousse’s texture. When ready to serve, let it sit at room temperature for 5 minutes to soften slightly.
Freezer Friendly
For longer storage, wrap the mousse tightly in plastic wrap and place it in a freezer bag. The mousse can be frozen for up to a month without compromising quality. When you’re ready to enjoy it, thaw the mousse in the refrigerator overnight. The texture will remain creamy, and the chocolate will retain its glossy finish.
Best Reheating Method
To bring the mousse back to its original silky state, place the container in a bowl of warm water for a few minutes. The gentle heat will soften the chocolate without melting it. Add a tiny splash of water before reheating to create steam, which helps the mousse regain its original texture. Avoid microwaving, as it can create uneven heating and ruin the mousse’s delicate structure.